Table of Contents
I’m excited to share my easy peasant bread recipe with you. It’s simple and needs just a few ingredients and tools. This recipe is great for beginners because it’s easy to follow and makes a delicious homemade loaf.
With this recipe, you can make a tasty peasant bread at home. It’s perfect for anyone wanting to try bread-making. It’s easy and authentic.
What makes Peasant Bread Special
Peasant bread has a long history, starting in medieval Europe. It was a main food for peasants and farmers. Made with flour, water, yeast, and salt, it was baked in wood-fired ovens.
This bread was key to the peasant diet. It gave them the energy for their hard work.
I find the story of peasant bread really interesting. Its journey has led to many recipes, like the best peasant bread recipe. The secret to great peasant bread is its simplicity. This lets the natural flavors of the ingredients stand out.
When made with love, peasant bread is incredibly tasty and fulfilling.
Some key traits of traditional peasant bread are: easy
- Coarse, dense texture
- Hearty, slightly sweet flavor
- Crisp, golden crust
These traits make peasant bread unique. Trying a traditional or the best peasant bread recipe will always result in a delicious treat.
Essential Equipment for Peasant Bread
To make a delicious peasant bread, you’ll need some basic peasant bread equipment and peasant bread tools. These essentials help you mix, knead, and bake your bread perfectly. You’ll need a large mixing bowl, measuring cup, and wooden spoon.
You’ll also need a baking sheet and a warm place for the dough to rise. This could be a sunny windowsill or a warm corner of your kitchen. The right peasant bread equipment and peasant bread tools make the process easier and more fun.
Here are some key items to get you started:
- Large mixing bowl
- Measuring cup
- Wooden spoon
- Baking sheet
- Warm place for rising
With these essentials, you’ll be well on your way to making a delicious peasant bread. Choose high-quality peasant bread equipment and peasant bread tools for lasting use and efficiency.
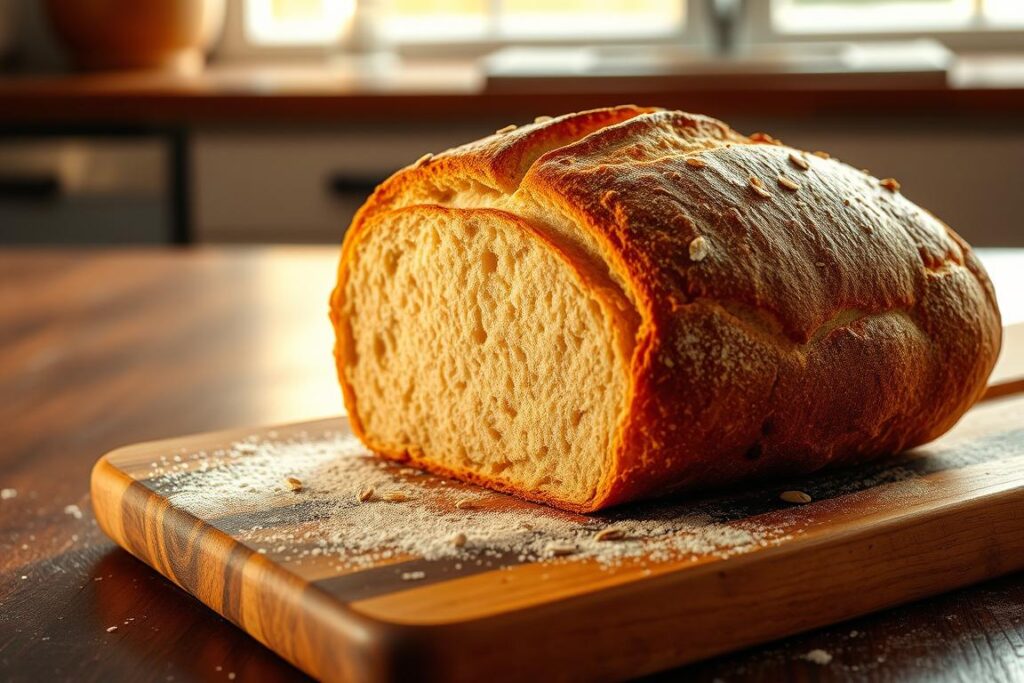
My Tried-and-True Peasant Bread Recipe
I’m excited to share my go-to peasant bread recipe. It’s simple and makes a delicious homemade loaf. You only need a few ingredients to make a crusty outside and soft inside.
Essential Ingredients
To make this homemade peasant bread, you’ll need the following ingredients:
- 2 cups of all-purpose flour
- 1 teaspoon of active dry yeast
- 1 teaspoon of salt
- 1 cup of water
These ingredients will give you a classic peasant bread flavor and texture. You can also add herbs, spices, or nuts for extra flavor and texture.
Scaling and Customization Tips
Want to make more or less peasant bread? You can scale the recipe up or down. Just remember to adjust the rising time and baking temperature. This recipe is easy to customize to your liking.
Mixing and Kneading Techniques
To make a tasty peasant bread, you need to know how to mix and knead. First, you mix the ingredients in a big bowl to get a shaggy mass. This step is key to the dough’s texture and shape.
After mixing, it’s time to knead the dough. You can do this by hand or with a stand mixer and dough hook. Kneading makes the dough chewy and elastic. It takes a few minutes until the dough is smooth and elastic.
Here are some important tips for mixing and kneading:
- Use a big bowl for mixing to make it easy.
- Mix ingredients in the right order for the best dough.
- Knead the dough for the right time to get the perfect texture.
By following these tips and mastering the peasant bread mixing and peasant bread knead techniques, you’ll make a delicious peasant bread.
The Art of Proofing Your Peasant Bread
When making peasant bread, peasant bread proofing is key. It lets the dough rise and get its special flavor and texture. First, let the dough rise in a warm spot for a few hours, or until it’s doubled in size.
The first rise is vital. It lets yeast work and make the bread light and airy. After rising, shape the dough into a round or oblong loaf. Let it rise again for an hour or two.
First Rise Guidelines
- Place the dough in a lightly oiled bowl, cover it with plastic wrap or a damp towel, and let it rise in a warm, draft-free area.
- Let the dough rise for 2-3 hours, or until it has doubled in size.
- Gently punch down the dough to release any air bubbles that have formed.
Second Rise Tips
After shaping the dough, put it on a baking sheet or in a bread basket. Cover it with a clean towel. Let it rise for another hour or two. This final rise shapes the bread perfectly.
How to Tell When Dough is Ready
The dough is ready when it’s doubled in size and has big bubbles on the surface. You can also check by poking it gently with your finger. If it springs back fast, it’s ready to bake.
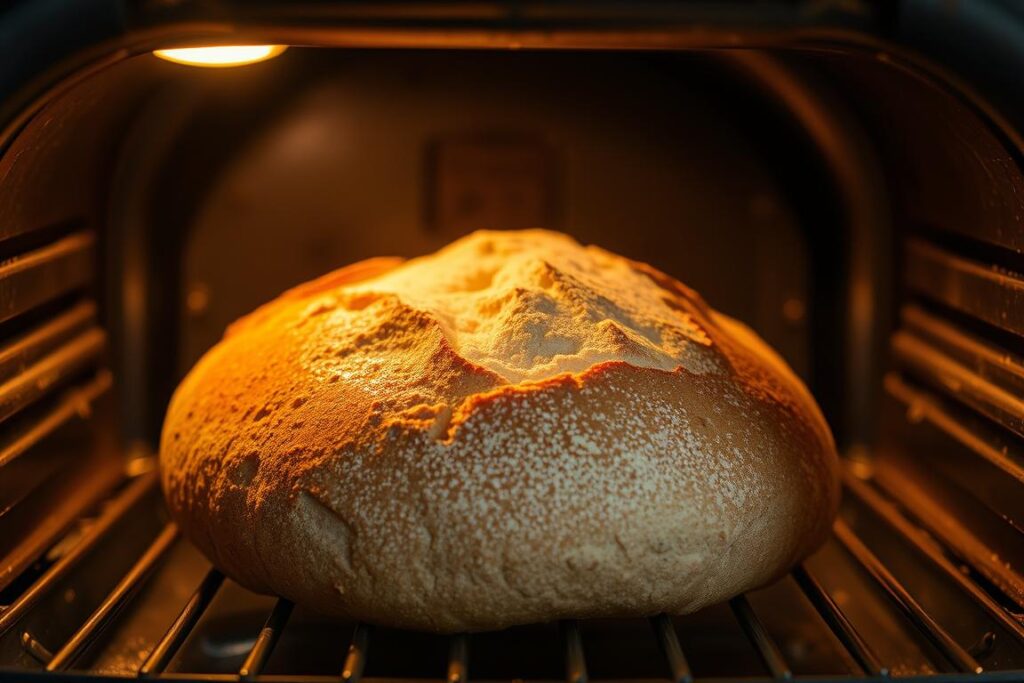
Baking Your Rustic Loaf to Perfection
To get a perfectly baked rustic loaf, you need to know the peasant bread baking process. First, preheat your oven to about 425°F (220°C). This high heat helps create a crispy crust. When baking a rustic loaf, put it on a baking sheet. Make sure there’s enough space for it to expand evenly.
Here are some key tips to keep in mind when baking your rustic loaf:
- Preheat your oven to the correct temperature to ensure a crispy crust
- Place the loaf on a baking sheet, leaving space for expansion
- Bake for 25-35 minutes, or until the bread is golden brown and sounds hollow when tapped on the bottom
By following these simple steps and understanding the peasant bread baking process, you’ll be able to create a deliciously baked rustic loaf that’s perfect for any occasion. Remember to keep an eye on your loaf while it’s baking. The baking time may vary based on your oven and the size of your loaf.
Troubleshooting Common Peasant Bread Issues
As I bake peasant bread, I’ve hit some common problems. I’ll share tips to fix dense bread, crust issues, and rise problems. Finding the problem’s root is key to solving it.
Fixing dense bread often means adjusting how you mix and let it rise. If your bread is too dense, it might be from mixing too much or not rising enough. Try mixing less or letting it rise longer to fix this.
Crust problems can be solved by brushing the loaf with egg wash or water before baking. This makes the crust golden and adds flavor. Also, to fix rise issues, you might need to change your kitchen’s temperature and humidity or try different yeast.
- Check the yeast expiration date to ensure it’s active
- Adjust the temperature and humidity of your kitchen
- Try a different type of yeast or flour
By using these tips, you can tackle common issues and bake great peasant bread. Be patient and try different solutions to find what works for you.
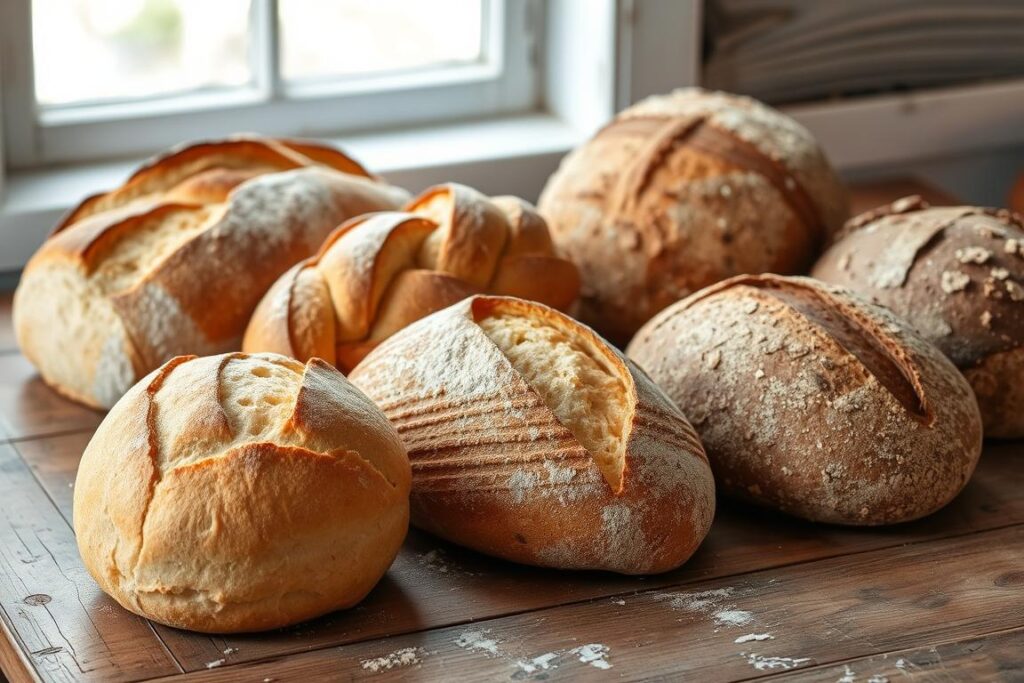
Creative Variations on Basic Peasant Bread
As I keep trying new things with peasant bread, I’ve found many creative ways to make it better. This bread is great because you can add different ingredients and techniques. For example, adding fresh herbs like rosemary or thyme makes the bread taste amazing with soups or stews.
Trying different flours is another way to make peasant bread variations interesting. Using whole wheat or rye flour makes the bread denser and more rustic. It’s perfect for hearty meals. Mixing different flours can also create a unique taste and texture. Some great options for creative peasant bread include:
- Garlic and herb: Mix minced garlic and chopped fresh herbs into the dough for an added depth of flavor
- Spicy: Add red pepper flakes or diced jalapenos to give the bread a spicy kick
- Cheesy: Incorporate grated cheese, such as parmesan or cheddar, into the dough for an extra burst of flavor
These are just a few ideas for peasant bread variations
Storage and Serving Suggestions
After baking your peasant bread, it’s key to store it right. This keeps it fresh and tasty. Wrap the loaf in plastic wrap or foil and keep it at room temperature for up to 3 days. Or, freeze it for up to 2 months and thaw at room temperature or in the microwave.
For peasant bread serving, you have many choices. You can serve it as is, or reheat it in the oven or toaster. Here are some tips:
- Reheat the bread in the oven at 350°F (180°C) for 5-10 minutes, or until crispy and golden brown.
- Toast the bread in a toaster or under the broiler for a crispy crust.
- Try serving the bread with your favorite soups, stews, or salads for a delicious and satisfying meal.
By following these tips for peasant bread storage and peasant bread serving, you can enjoy your homemade loaf for days. It’s perfect as a side dish or as a base for your favorite recipes. Peasant bread will quickly become a favorite in your home.
Conclusion
Now you can make a delicious, authentic loaf of peasant bread in your kitchen. This easy peasant bread recipe is perfect for both experienced bakers and beginners. It’s a great way to impress your family and friends with your baking skills.
The secret to perfecting peasant bread is mastering the basics. This includes mixing, kneading, and proofing the dough. By following the instructions and tips, you’ll get that golden crust and soft crumb everyone loves.
So, put on your apron, heat up your oven, and get ready for the amazing smell of peasant bread. Share this homemade treat with your loved ones. Enjoy the joy of making something special with your own hands.
FAQ
What makes peasant bread special?
Peasant bread has a rich history from medieval Europe. It was a staple for peasants and farmers. Made with flour, water, yeast, and salt, it was baked in wood-fired ovens.
This recipe combines old techniques with new ingredients. It makes a delicious, authentic peasant bread.
What equipment do I need to make peasant bread?
You’ll need a large mixing bowl, a measuring cup, a wooden spoon, and a baking sheet. A warm place for the dough to rise is also essential.
What ingredients are in your peasant bread recipe?
My recipe uses all-purpose flour, yeast, salt, and water. You can add herbs, spices, or nuts for extra flavor and texture.
How do I mix and knead the peasant bread dough?
Mix the ingredients in a bowl until they form a shaggy mass. Then, knead the dough for several minutes until it’s smooth and elastic.
You can knead by hand or use a stand mixer with a dough hook attachment.
How do I proof the peasant bread dough?
Let the dough rise in a warm place for several hours, until it doubles in size. Shape it into a round or oblong loaf and let it rise again for an hour or two.
How do I bake the peasant bread to perfection?
Preheat your oven to 425°F (220°C). Place the loaf on a baking sheet and bake for 25-35 minutes. The bread should be golden brown and sound hollow when tapped.
What are some common peasant bread issues and how do I fix them?
Issues like dense bread, crust problems, and rise issues can occur. Dense bread might be due to overmixing or not rising enough.
Crust problems can be fixed by brushing the loaf with egg wash or water before baking. For rise issues, try different yeast types or adjust your kitchen’s temperature and humidity.
What are some creative variations on basic peasant bread?
Add herbs or spices like rosemary or thyme for extra flavor. Try using whole wheat or rye flour for a rustic or dense bread.
How do I store and serve peasant bread?
Wrap the bread in plastic wrap or aluminum foil and store it at room temperature for up to 3 days. Freeze it for up to 2 months and thaw at room temperature or in the microwave.
To reheat, bake in the oven or toast in a toaster.
ADVERTISEMENT