Table of Contents
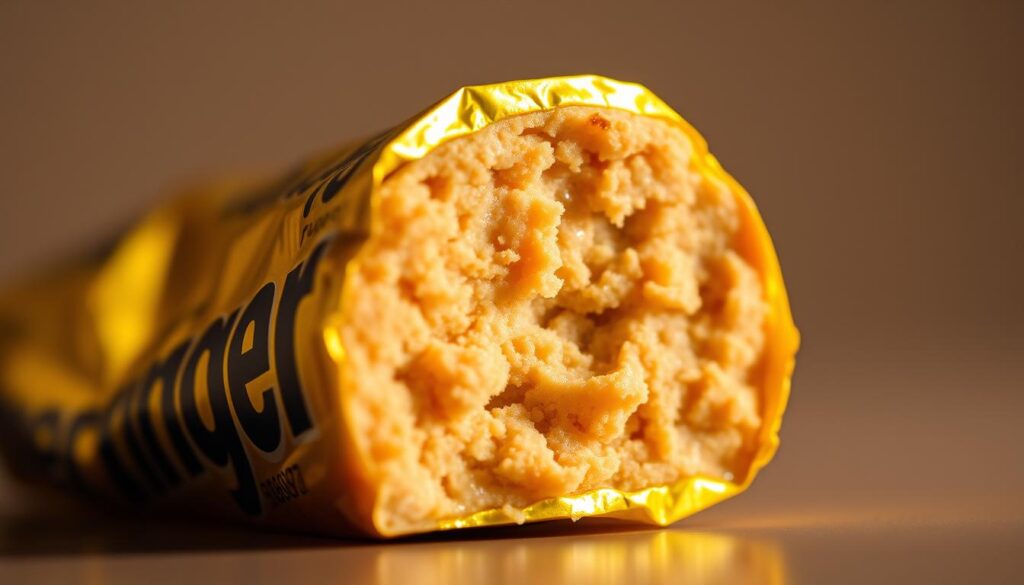
Get ready to enjoy homemade Butterfinger Balls. They have a creamy inside and a crunchy outside. These treats are great for any event and are made with the famous Butterfinger candy.
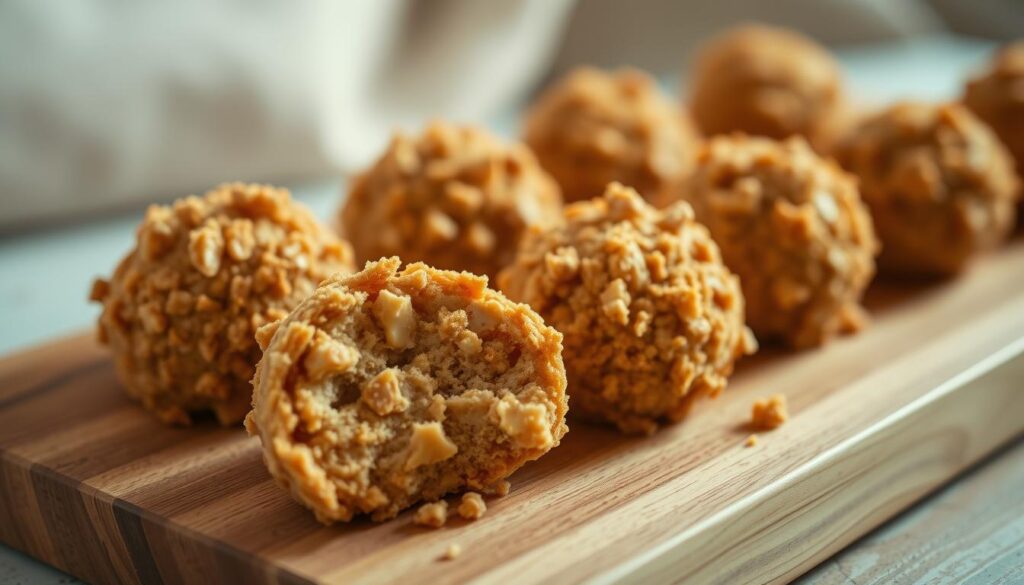
Homemade Butterfinger Balls are a tasty snack you can make at home. Their creamy and crunchy mix makes them perfect for any time.
Introduction to Homemade Butterfinger Balls
Homemade Butterfinger Balls are a creamy and crunchy delight. They’re a great choice for a sweet treat. Enjoy them anytime and share them with loved ones.
Key Takeaways
- Homemade Butterfinger Balls have a unique creamy texture
- They offer a crunchy exterior for a satisfying bite
- These treats are perfect for any occasion
- Homemade Butterfinger Balls are easy to make at home
- They are a great choice for those looking for a sweet and crunchy snack
- Butterfinger Balls can be shared with friends and family
What Makes Butterfinger Balls Special
Butterfinger candy is loved for its creamy and crunchy mix. Making homemade Butterfinger Balls lets you enjoy this delight in a new way. You can pick the ingredients and how to make them, making it your own.
Customizing Butterfinger Balls is fun. You can change the chocolate, add nuts, or try different shapes. It’s a creative activity that’s great for making with others.
Homemade Butterfinger Balls offer control over ingredients and a fun making process. They’re perfect for parties because you can make lots at once. Their creamy and crunchy mix makes them irresistible.
History of the Candy
Butterfinger candy has a rich history, starting in the early 20th century. It was created by the Curtiss Candy Company and quickly gained fans for its unique taste and texture.
Why Make Homemade Versions
Making your own Butterfinger Balls is a new way to enjoy this treat. You get to choose what goes into them, making it a fun and personal project. It’s a great activity to do with others.
Nutritional Benefits and Considerations
Butterfinger Balls are tasty but not the healthiest option. Making them at home lets you use healthier ingredients. Try dark chocolate and add nuts for a nutritious twist.
Essential Ingredients for Perfect Butterfinger Balls
To make perfect Butterfinger Balls, you need the right ingredients. The quality of your ingredients affects the taste and texture. It’s all about finding the right balance of flavors.
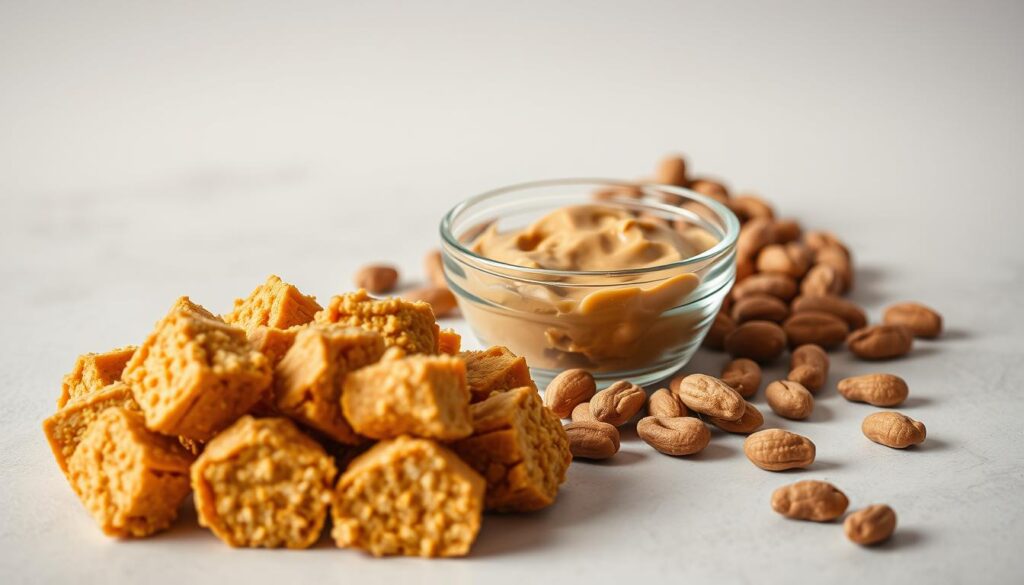
High-quality chocolate is crucial. Look for chocolate with a high cocoa content for a rich flavor. Nuts like peanuts or almonds add a satisfying crunch. Together, they make your Butterfinger Balls irresistible.
Here are some essential ingredients you’ll need:
- High-quality chocolate
- Peanuts or almonds
- Butterfinger candy bars
- Heavy cream
- Granulated sugar
With these ingredients, you can make delicious and beautiful Butterfinger Balls. Remember, using high-quality ingredients and following a good recipe is key. With practice, you’ll soon be a pro at making perfect Butterfinger Balls.
Kitchen Tools and Equipment Needed
To make delicious Butterfinger Balls, you need the right tools and equipment. Having the right tools makes the process easier and more fun. Think of kitchen tools as an investment in your cooking experience.
A mixing bowl and spoon are must-haves. They help you mix and blend the ingredients. You’ll also need a baking sheet, parchment paper, and a microwave-safe bowl.
There are also optional tools that can help. A candy thermometer ensures the chocolate melts perfectly. A silicone spatula is great for scraping the bowl and mixing ingredients.
Here are the key tools and equipment you’ll need:
- Mixing bowl
- Spoon
- Baking sheet
- Parchment paper
- Microwave-safe bowl
With these tools, you’re ready to make delicious Butterfinger Balls. They’re easy to make and fun to eat.
Preparing Your Workspace
When making Butterfinger Balls, a clean and organized workspace is key. It helps you focus and ensures your candy is delicious. Start by clearing a large area, like a kitchen table or countertop. Wipe it down with a damp cloth to make it clean.
Then, gather all your ingredients and tools. Arrange them in a way that makes sense. This keeps your workspace tidy and makes it easier to find what you need. Use a utensil holder or tray to keep tools organized and within reach.
Some important items for your workspace are:
- A large mixing bowl
- A measuring cup and spoons
- A wooden spoon or spatula
- A baking sheet lined with parchment paper
Preparing your workspace well helps you work more efficiently. This leads to better-tasting Butterfinger Balls. Keep your workspace clean and organized to get the best results.
Step-by-Step Guide to Making Butterfinger Balls
To make delicious Butterfinger Balls, follow this guide. You’ll learn to mix the base, shape the balls, and coat them in chocolate. This guide is perfect for beginners and experienced candy makers alike.
First, mix crushed Butterfinger bars, cream, and sugar in a big bowl. Stir until it’s smooth and consistent. This step is key to the whole process.
Creating the Perfect Consistency
After mixing, shape the mixture into balls. Use a cookie scoop or your hands for uniform sizes. This ensures your balls cook evenly.
Applying the Chocolate Coating
The last step is the chocolate coating. Melt chocolate in a double boiler or the microwave. Stir every 30 seconds until smooth. Then, dip each ball in chocolate, covering it fully. Put them on parchment paper and chill until set.
By following this guide, you’ll make delicious Butterfinger Balls. Be careful and patient, as each step is important. With practice, you’ll master making these treats. Enjoy them or share them with loved ones.
Tips for Perfect Texture and Consistency
To get the perfect texture and consistency in your Butterfinger Balls, focus on quality ingredients and technique. The right chocolate and nuts are key. High-quality chocolate with high cocoa content adds richness and smoothness.
For the right consistency, the base mixture should be smooth and creamy. It should have a perfect balance of crunch and chew. To get this, adjust the ingredients as needed. Here are some tips:
- Use a mix of creamy and crunchy ingredients for the perfect texture.
- Adjust the base mixture’s consistency by adding more or less ingredients.
- Try different chocolates and nuts to find your favorite combination.
Follow these tips to make Butterfinger Balls that impress everyone. Remember, practice makes perfect. With a bit of effort, you’ll be a pro at making delicious Butterfinger Balls.
Pay attention to details and use the right ingredients for tasty and beautiful Butterfinger Balls. With these tips, you’re on your way to making perfect Butterfinger Balls.
Storage and Shelf Life
To keep your Butterfinger Balls fresh, follow proper storage and shelf life guidelines. These treats can stay creamy and crunchy for days if stored right. Knowing the best storage methods lets you enjoy them longer, saving space.
You can store them at room temperature, in the fridge, or in the freezer. Each option has its pros and cons. Room temperature is easy but might shorten their life. Refrigeration can keep them fresh longer, though.
- Room temperature storage: Store your Butterfinger Balls in an airtight container, away from direct sunlight and heat sources.
- Refrigeration guidelines: Place your treats in a covered container and refrigerate at a temperature of 40°F (4°C) or below.
- Freezing instructions: Wrap your Butterfinger Balls tightly in plastic wrap or aluminum foil and place them in a freezer-safe bag.
By following these tips, you can enjoy your Butterfinger Balls for a longer time. This makes the most of your storage and fridge space.
Creative Variations and Flavor Twists
When making Butterfinger Balls, you can try new things. You can add new ingredients or change the coating. For example, use dark chocolate chips for a deeper flavor.
Mini Butterfinger Balls are also a great idea. Just make them smaller and adjust the coating time. They’re perfect for parties or special events. Decorate them with holiday sprinkles for a festive look.
Here are some other ideas for creative variations:
- Adding a pinch of salt to balance the sweetness
- Using different types of nuts, such as almonds or pecans, for added crunch
- Experimenting with various flavor extracts, like mint or orange, for a unique twist
By trying these creative variations, you can make many delicious Butterfinger Balls. They’re great for any occasion or just for fun. These unique treats will surely impress everyone.
Common Mistakes to Avoid
When making Butterfinger Balls, it’s key to know what mistakes to steer clear of. One big error is overmixing the base mixture. This can make the balls dense and tough. To fix this, mix the ingredients just until they form a ball.
Choosing the wrong chocolate is another mistake. It can mess up the flavor and texture. For the best taste, use high-quality chocolate with a high cocoa content.
Storing the Butterfinger Balls wrong is also a common mistake. To avoid this, keep them in an airtight container at room temperature or in the fridge. Here are some more tips:
- Avoid overhandling the mixture, as this can cause the Butterfinger Balls to become misshapen.
- Don’t overbake the chocolate coating, as this can cause it to become brittle and crack.
- Keep the workspace clean and organized to avoid cross-contamination and mistakes.
By being careful of these mistakes, you can make delicious Butterfinger Balls. Always use fresh and high-quality ingredients. Follow the recipe closely for the best results. With practice, you’ll soon be making perfect Butterfinger Balls.
By following these tips and avoiding common mistakes, you’ll be well on your way to creating delicious and perfect Butterfinger Balls. So, go ahead and give it a try, and don’t be afraid to experiment and try new things. With a little creativity and practice, you’ll be a pro at making Butterfinger Balls in no time.
Serving Suggestions and Presentation Ideas
When serving Butterfinger Balls, you want to impress. Think about presentation ideas that make your treats look great. A good idea is to arrange them on a party platter with different colors and textures. You can mix Butterfinger Balls with fresh fruits and nuts.
For a better look, pick a decorative platter or tray. It adds elegance. Or, use small bowls for a cozy feel at casual events.
- Alternate between large and small Butterfinger Balls to create visual interest
- Add fresh fruits, such as strawberries or grapes, to add natural sweetness and color
- Incorporate nuts, such as almonds or walnuts, for added crunch and texture
With these serving suggestions and presentation ideas, your Butterfinger Balls will be a hit. They’ll be the highlight of your gathering.
Troubleshooting Your Butterfinger Balls
When making Butterfinger Balls, you might run into some common problems. These issues can affect how your treats look and taste. One issue is a base mixture that’s too thin or too thick. You can fix this by adjusting the ingredients or chilling the mixture for a bit.
Another problem is when the chocolate coating doesn’t look even. You can solve this by heating the chocolate to the right temperature. Or, use a double boiler to avoid burning it. Try tapping off extra chocolate or use a fork for a smooth coat. By tackling these common issues, you can make your Butterfinger Balls perfect.
Here are some more tips for troubleshooting:
- Check the expiration dates of your ingredients to make sure they’re fresh.
- Choose the right chocolate for coating, like milk or dark chocolate.
- Don’t overmix the base mixture to avoid making the balls tough or dense.
By following these tips and being aware of common problems, you can make amazing Butterfinger Balls. They’ll be creamy, crunchy, and tasty. Remember, troubleshooting is part of cooking. With practice, you’ll get better at fixing issues and your Butterfinger Balls will be even better.
Conclusion
Creating delicious Butterfinger Balls is an art that needs focus and following steps carefully. By learning from this guide, you can make homemade Butterfinger Balls as good as the store-bought ones. Make sure to watch the ingredient amounts, how you melt and coat them, and how to store them.
Now, you can try new flavors and ideas to make your Butterfinger Balls unique. They’re perfect for parties or as gifts. Enjoy making these treats and sharing them with others.
FAQ
What is the history of Butterfinger candy?
Butterfinger candy was first introduced in 1923 by the Curtiss Candy Company. It has a crispy, peanut-flavored center covered in smooth milk chocolate. This unique mix has made it a favorite in America for many years.
What are the benefits of making homemade Butterfinger Balls?
Making homemade Butterfinger Balls has many advantages. You can choose the ingredients and flavors you like. It’s also a fun way to be creative in the kitchen.
What are the nutritional considerations for Butterfinger Balls?
Butterfinger Balls are tasty but should be eaten in small amounts. They have a lot of sugar and fat. But, they also have protein and some good nutrients from peanuts and chocolate. It’s important to eat them in balance with other foods.
What are the must-have utensils for making Butterfinger Balls?
You’ll need a mixing bowl, spoon, and baking sheet or parchment paper. A candy thermometer and a double boiler or microwave can also be helpful for melting chocolate.
How should I prepare my workspace for making Butterfinger Balls?
Clean and clear your counter or table before starting. Have all your ingredients and tools ready. This makes the process easier and more efficient.
How can I achieve the perfect texture and consistency for Butterfinger Balls?
Focus on the type and amount of chocolate and nuts, and the base mixture’s consistency. Tempering the chocolate right and using the correct ingredient ratio will give you the perfect texture.
How should I store Butterfinger Balls to maintain their freshness?
Store them in an airtight container at room temperature for up to 1 week. For longer storage, refrigerate for up to 2 weeks or freeze for up to 3 months. Use an airtight container or wrap them tightly to keep them fresh.
What are some creative variations and flavor twists I can try with Butterfinger Balls?
Try using dark chocolate instead of milk chocolate, or make mini balls. You can also decorate them for holidays. Experiment with different nuts or add-ins like sea salt or caramel.
What are some common mistakes to avoid when making Butterfinger Balls?
Avoid overmixing the base, using the wrong chocolate, and not tempering the chocolate. Also, don’t store them wrong. Follow the recipe and storage tips to make perfect Butterfinger Balls every time.
ADVERTISEMENT